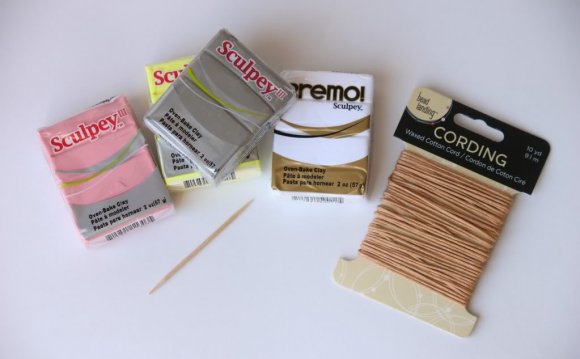
 When the days are long and cold, I find projects to work on inside the house. I bake, make soap (of course!), crochet, read, or work on other craft projects. For the past few weeks I’ve been making jewelry from polymer clay.
Ingredients
- 2 cups corn starch
- 2 cups baking soda
- 1¼ cups cold water
- food coloring if desired
Directions
- Mix all of the ingredients in a saucepan and stir while heating over medium heat. It will start to thicken, much like mashed potatoes. Take it off of the heat and let it cool.
- At this point, you can pinch off pieces and color with food coloring (or wait and paint them later in the process). Using gloves will protect your hands from the food coloring and will also cut down on fingerprints.
- Form pieces into desired shapes. Bake at 250°F for 15-20 minutes. (You do need to bake this as it won’t harden as well as the salt dough.)
- If painting your pieces, wait until pieces are completely cooled to paint.
This dough and the one above can be made in a large batch ahead of time and can be frozen in a zip top bag. Be aware that when you take it out, it may develop moisture on the outside and should be dried a bit before using. It will probably be hard and possibly crumbly, but working it and kneading it more will help. If it is very sticky, roll it out onto a floured board and work a bit more flour into it.
For short periods of time, you can place it in a zip top bag and leave it on the counter.
Homemade Polymer Clay Ideas
- Any type of paint can be used to color the finished pieces. Be sure to paint after baking as some oil based paints could be flammable. Coat with a sealer such as varnish or paste wax. Buff after the wax.
- If you do get unsightly fingerprints on the piece, you can sand the oven dried piece with an emery board. Use a light touch and then finish with a fine grain sandpaper, like a wet/dry type.
- I’ve made some cool pieces by adding colored mica or glitter. It just needs to be worked into the clay before baking.
- You can embellish with chatons or foil-backed rhinestones. Place the rhinestone on the top and then push it into the clay. Then pull the rhinestone out, add a dab of glue, and place the rhinestone back into the hole. You can bake most stones and they will be fine. Crystals and stones will not melt and they rarely ever crack at the low temperatures required for this clay.
- Don’t want to make jewelry? Try some mushrooms or birds for the flower garden or embellish a box. Add clay to a mint tin to make a one-of-a-kind treasure box.
Have you made clay for jewelry? Let us know how it worked out!
*******
PAID ENDORSEMENT DISCLOSURE: In order for us to support our website activities, we may receive monetary compensation or other types of remuneration for our endorsement, recommendation, testimonial and/or link to any products or services from this website.
DISCLAIMER: Information on DIY Natural™ is not reviewed or endorsed by the FDA and is NOT intended to be substituted for the advice of your health care professional. If you rely solely upon this advice you do so at your own risk. Read full Disclaimer & Disclosure statements here.
RELATED VIDEO


